Have you always wanted to create faux leather earrings? You can use your Scan N Cut to cut the shapes so easily. Today I have the full tutorial on how to create an earring design in Canvas Workspace, using your Scan N Cut to cut them out, and some great tips to finish your earrings ready to wear.
This post may contain some affiliate links for your convenience (which means if you make a purchase after clicking a link I may earn a small commission but it won’t cost you a penny more)! Read my very boring full disclosure policy here.
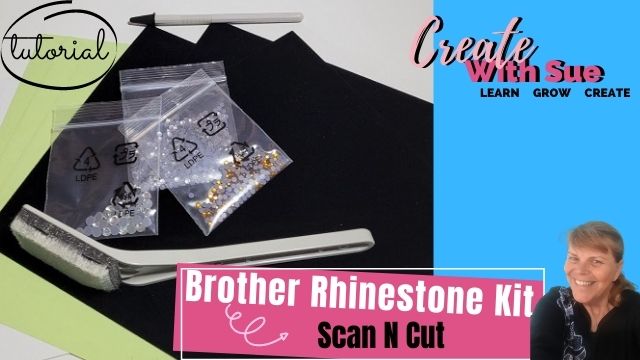
Materials and tools needed
- Faux leather sheet
- HTV – (optional)
- Earring hooks
- Jump rings
- Pliers – I use two pairs of jewellery pliers
- Heat Press – (optional)
- Canvas Workspace
- Scan N Cut machine
You could cut these earrings out by hand if you did not have a cutting machine. This tutorial will focus on how to create your unique design (or you can use mine) with Canvas Workspace and your Scan N Cut
What is Faux leather?
Faux leather, also known as synthetic leather or imitation leather, is a man-made material designed to replicate the appearance and texture of genuine leather.
Key characteristics of faux leather include its durability, resistance to water and sunlight, and availability of colors and texture. Faux leather can be used for various projects, and in this tutorial, creating Faux leather earrings.
Video Demonstration
Here is a video demonstrating creating the design in Canvas Workspace, exporting it to your Scan N Cut and assembling the earrings. I know some prefer watching how things are made. Don’t forget to read on as well though. 🙂 I always think of more things to tell you when I write.
Designing the Earrings
Now, this bit is the fun part. Imagine the style of earrings that you would like to create. Do you like big ones, smaller ones, very dangly ones?
Design in Canvas Workspace
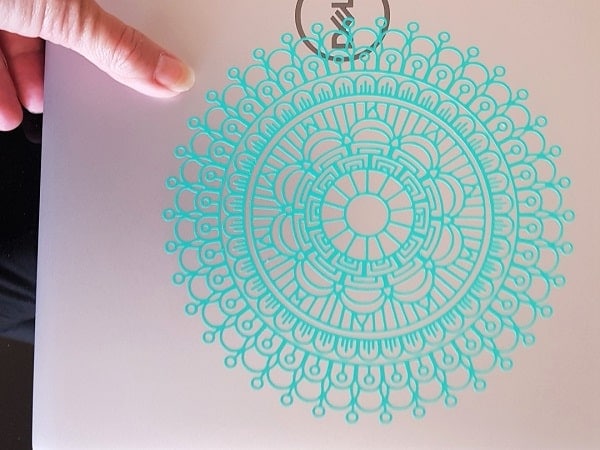
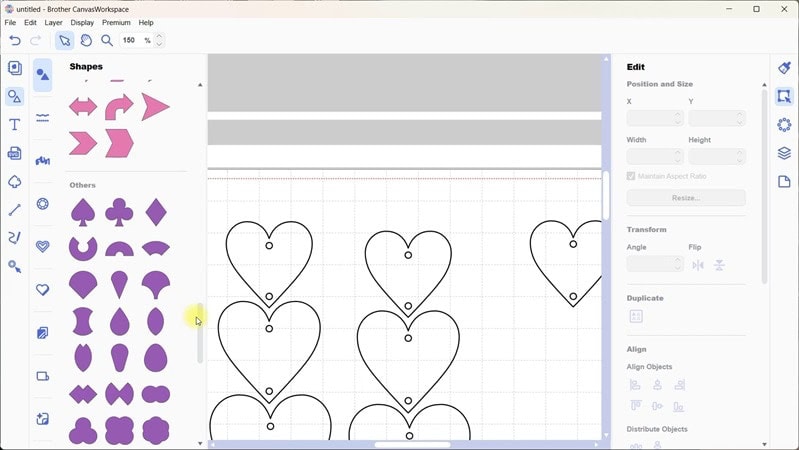
You can use Canvas Workspace to design many of your projects for your Scan N Cut. Earrings is just one of them. Plus, there is already a range of inbuilt shapes that make great earrings. I have used hearts however look through the shape section and you will find many shapes that can be used.
Want something a little different? Why not find a design or shape you love and use the Trace feature to create your own unique shapes? This is a LOT of fun. Explore a variety of designs, from floral motifs to animal-inspired shapes to captivating swirls, and let your creativity take the reins.
Now, this bit is the fun part. Imagine the style of earrings that you would like to create. Do you like big ones, smaller ones, very dangly ones?
You can use Canvas Workspace to design so many of your projects for your Scan N Cut. DIY faux leather earrings are just one of them.
Let’s take a look at the shapes you can use.
Add some variations
You can use multiple variations of the shapes to create one pair of earrings. Choosing one drop, two drops, or three drops as shown above is another option. Remember to add the appropriate holes to suit your design.
You can also create your Faux leather earrings using 3 different sizes of the same shape. This can create a unique layered effect as demonstrated below with the tear drop style earrings.

Choosing Faux leather
There are many Faux leather patterns and designs to choose from. Colored patterned Faux, plain Faux, textured Faux, and the list goes on and on. Then choose the color you would like. This is always difficult for me as I love all the different colors.
What you choose is a personal choice. Plus, a pair of Faux leather earrings is very inexpensive to make so you could make lots of different pairs for any occasion.

Adding HTV is optional
Depending on your Faux leather you may choose to create a different effect. Adding HTV to the back of the Faux leather can create a matching or two-tone effect or simply conceal a white backing on colored faux pieces.
Next, if you are planning to add HTV on the back, choose a color that compliments your Faux and your design.
Remember, when working with patterned faux leather or HTV, earrings are small, so opting for a smaller pattern can enhance your design more effectively than a large, blocky one.
Steps to add the HTV
Cut off the approximate amount of HTV that you need for your project. Match it up to the amount of faux leather you have used and press together with your heat press.
This heat press is the HTVRont Auto Press which I quite like. I use it mainly for HTV and sublimation and it does a good job. I was skeptical as far as sublimating however it has been doing a really great job of everything that I have created with it so far.
Check the time and temperature of the HTV brand you are using. There are a variety of types of HTV including hot and cold peel. Each of these may use a specific time and temp.

Applying HTV to the back of a piece of Faux is similar to adding HTV to other projects. Use the time and temp provided by the manufacturer of your HTV. For more HTV tips check this tutorial.

Cutting the Faux Leather
Ensure that your Faux leather is sticking to your mat properly. If you added HTV you can either remove the carrier sheet prior to cutting your Faux, or alternatively, you can leave the HTV carrier sheet on until after you have cut your earrings out.
NOTE: some HTV does not come with a carrier sheet
For this project, I left the carrier sheet on and it worked quite well. The carrier sheet was placed against the mat and I adjusted the cut depth so that the carrier sheet was not cut through.
Settings
Setting Cutting Parameters
Unloading and Detaching
- Once cutting is complete, unload the cutting mat from the machine.
- Gently detach the faux leather pieces from the cutting mat.

Assembling the Earrings
Jewellery findings
Jewelry findings are essential components in the world of jewelry making, encompassing a wide array of items such as clasps, jump rings, earring hooks, and pins. These findings play a crucial role in both the functionality and aesthetic appeal of jewelry pieces, providing the necessary structure and finishing touches.
Fortunately, jewelry findings are readily available and easily purchased from various sources, including local craft stores, online marketplaces, and specialized jewelry supply shops. Whether you’re a seasoned jewelry maker or a novice crafter, finding the right components for your projects is convenient and accessible, allowing you to bring your creative visions to life with ease.
Tools for assembling jewellery
A few tools are also required to make your Jewellery assembly easier. I have a few different types of jewellery pliers to assist me. My favorite pair are the small flat-end pliers (in the below picture on the left). Using two pairs of these pliers makes assembly easier again. I couldn’t find my second pair when I was creating these earrings (figures) and I managed with the two different types I had on hand.
The rounded ones on the right-hand side of the picture have their uses however weren’t the best choice for assembling these Faux leather earrings.

Putting the earrings together
Choosing the size jump ring can be a little trickier. I used 8mm however 6 is a good size too. Jump rings come in lots of sizes however choose the size that suits your project and that you like the look of. I chose 8mm because the heart shape has a point at the bottom and to end up with a flat, fitting design, the larger jump ring was a good choice. For single heart-shaped earrings, a smaller jump ring would be suitable.
Adding Earring Hooks
Creating Matching Pairs
Final Touches

Optional Steps (Customization)
There are so many choices when creating projects with your Scan N Cut. Faux leather earrings are NO different. Here are some more ideas on creating a unique design.
A. Painting or decorating the Faux leather – adding a splash of color to your earrings can make them pop. Paint suitable for fabric is available and would be a good choice.
B. Adding embellishments or studs – there are a lot of options when it comes to jewellery. Adding a stud or metal shape to your earrings is a great way of making them unique. This can be done by pressing the stud onto the Faux leather OR hanging a cute shape from the jump ring. A little dangling shape can create a lot of interest.
C. Experimenting with different colors and textures – using multiple layers and creating interest with colors is another great way to make your earrings POP. What about creating a plain shape backing and the top layer with a small shape or design cut out of it? Add a two-tone effect and Voila!
Quick Tips:
And there you have it! With Canvas Workspace and the Scan N Cut, you’ve effortlessly created stylish Faux leather earrings. Enjoy showcasing your unique, handmade accessories!
I hope you have gained some creative ideas on using Faux leather to make earrings using your Scan N Cut. While I have created earrings, some of these ideas could easily be applied to creating necklaces, bracelets, and other items of jewellery. HAVE FUN!
Happy creating,


Join me on Facebook
Join me in the Scan N Cut – Let’s Create With Sue Facebook group. It is a group of awesome craft friends sharing and caring.
I would love to see you there.
You are always welcome to say Hi at [email protected] or [email protected]. It would be great to hear from you!
Tips for cutting Fabric
Are you looking for tips on how to cut fabric? Here is my tutorial on fabric cutting.

Courses available
Did you know I have both free and paid courses available to help you with your crafting journey?

Like to learn how to use Canvas Workspace? More information can be found here!