
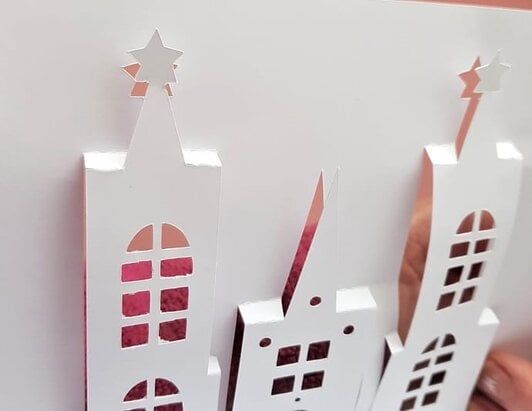
Like pop-up Castle Cards? They are cool, aren’t they!
Well, this post nearly didn’t get written and the template not put up as a freebie. I thought that the instructions might be a bit complicated and the project harder than I normally post.
Then I approached my facebook group and asked them whether they were interested in having it and had very positive responses….they wanted it!
Next, I was uncertain how to decorate the card so again I asked other crafter’s what they thought. They were wonderful and came up with a great range of ideas which I loved. In fact, I had so many wonderful suggestions I had trouble trying to decide which one to do.
Ideas like adding glitter to sand (absolutely going to try this), moats, brick and stone paper, night skies and stars……fantastic ideas. There are so many very creative people around. The overall response was awesome!
No doubt you will input your creative talents and come up with more ideas when you have a go at it too.
What I also discovered was everyone thinks a pop-up Castle card IS FUN.

So, as requested, the pop-up Castle card is in my Free resource library and is quite interesting to do (I know I enjoyed it) and below is the tutorial.
When you are finished your pop-up Castle card I would love to see it.
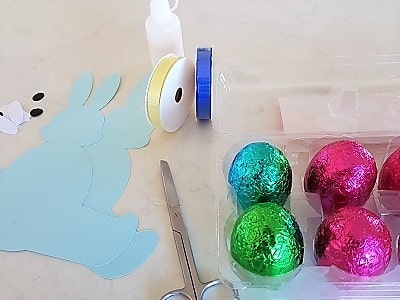
What Do You Need!
- Card Stock – colors of your choice. I used white and yellow.
- Scan N Cut to cut it out with
- Glue or double-sided tape.
- Template from the Resource Library.
- Your own selections to embellish the card.
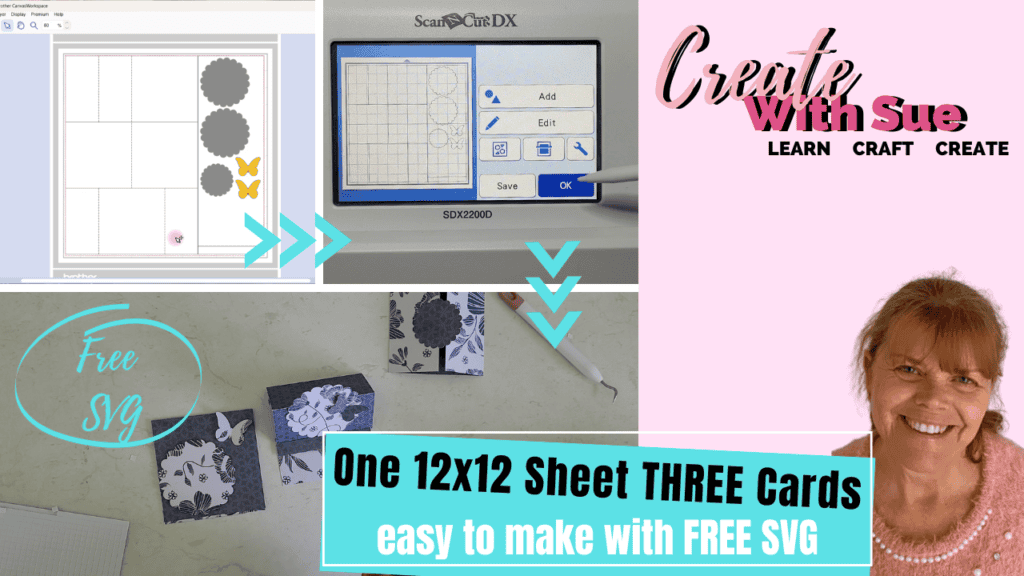
Step 1 – Download and Unzip
Download the .fcm file and upload into Canvas Workspace OR place it on a USB to transfer straight to your Scan N Cut. You will notice the rectangle shape for the backing card is included in the template as well.
Note: If you need help with unzipping files click here OR help with uploading an SVG or FCM file into Canvas Workspace? click here.

The selected rectangle area needs to be removed from the cutting area when you cut out the pop-up Castle card section. Once that section has been cut out then cut the back rectangle section of the card.
Note: The dash lines you can see in the picture are the fold lines. Make sure that the fold lines have NOT been transposed into cut lines when imported into Canvas.
Tip: If you do not like your cards with dashed score lines you could remove the lines and use a scoreboard or potentially a scoring tool in your Scan N Cut Universal holder.
Step 2 – Let’s Cut
Cut out both sections of the card. Don’t forget to do your test cut, making sure it cuts through your card stock cleanly. This will produce a better (and easier to manage) outcome when you fold and pop the card.
Step 3 – Folding
Now for the folding. This is the fiddly bit….and a bit harder to explain BUT bear with me….. here goes.
Have a look at the diagram and you will note that some folds are inward or valley folds and others are outward or mountain folds.

You can see the in most instances, the top fold of the pop-up Castle are inward folds and the fold just below is an outward fold. Where it differs is at the base of the Castle with both the halfway fold of the card and the base of the Castle are inward folds.

Here is the back view to give you a better look.
To get the Castle to pop out fold the halfway fold inward, then the base of the Castle inward. Work your way up the Castle gently pushing out the panels until you get to the next row of folds.
Fold the bottom of the two folds outward and the one above inwards as per diagram. Press a crease in the fold lines as best you can. Work up to the next level and repeat the process. Continue until all levels are folded into the correct positions.
Once all folds have been folded in the card press it together and flatten it. At this stage, all the sections are a bit floppy so don’t get too anxious.
Step 4 – Put It Together
The next step is putting the backing card onto the pop-up Castle section. Fold the backing card in half and glue or use double-sided tape the bottom section of the backing card and the bottom section of the pop-up together. Be careful you do not get glue on any areas that POP or they will stick flat.
Once you have the bottom sections of your two pieces glued together, place glue on the outside edges only of the top section of the pop-up ensuring no glue gets on any areas that pop and press the backing card and pop-up Castle section together.
Now you can fold down flat and give it a good press checking the inward and outward folds are being pressed in their correct direction.

Phew….it’s a bit fiddly but very rewarding once completed.
I hope you have fun making this card. It is a great, fun project. Let me know how you go. As always, you are welcome to post a picture of your finished masterpiece on my Facebook page.
https://www.facebook.com/createwithsue1/
You are also welcome to join the Scan N Cut ~ Lets Go Create With Sue. This is a closed group where you can ask questions, get tips and interact with other crafters.
https://www.facebook.com/groups/352240932085702/?source_id=798673080508072
Anyway, happy creating,
Sue
P.S. Don’t forget to pin this to your Pinterest board or share it to Facebook so others can also enjoy it.
And
….check out any other posts you may like to browse through.
- Scan N Cut Hacks To Save You Money
- Create Faux Leather Earrings – Scan N Cut
- Brother Scan N Cut SDX1000 – I bought another one!
- How to add Glyphs to Canvas Workspace
- How to Cut Fabric with your Scan N Cut

NOTE: The password to the Resource Library is on the bottom of every email that I send out if you have forgotten it.
NOT SUBSCRIBED YET? Easy as. Complete the form below and the password will be sent to you straight away.
Look forward to your company next time.
Sue


Hi Sue
When I cut out the castle, there are no windows on the side panels. There are windows on the door and 4 above the door, but that’s all.
Can you tell me what I’m doing wrong?
Thanks
Marie
Hi Marie, Goodness! I have downloaded the Castle card to make certain that the file in the Library hasn’t been corrupted in some way. Testing in BOTH the downloaded version and the online version and all windows are appearing correctly with my download.
Things to try include, downloading the file again to see if there was an issue during the unzipping process OR having a play creating some windows on the design yourself. ? Use the square shape tool to create really easy windows or include some of the other shapes that may make a cool window. Let me know if you are still having issues and need more help. I am happy to try and help you further.
Sue xx