
This post is about using glitter, embossing powder, and embossing foil (heat-activated foil). All three techniques are so much fun!
Now, this topic is a little “off-topic” for me but one of my lovely group members, Sheryl, asked me about it and I thought others may like the information as well.
Hi Sheryl !!!!
This post contains some affiliate links for your convenience (which means if you make a purchase after clicking a link I may earn a small commission but it won’t cost you a penny more)! Read my full disclosure policy.
Glitter
Both glitter and embossing are really good fun and can make a huge difference to a project. I use cheap glitter so I don’t think brand matters too much although read on why you may need to pay a little more.
Glitter comes in different-sized granules ( I guess that is what you call them). I really like the very fine glitter however it would depend on the project. I have seen some fantastic shaker cards made with very coarse glitter and shaped glitter.
Where to buy
Looking around the cheap shops you will find that they mostly sell medium and coarse granule glitter which may be just what you are looking for. Another place to get a large variety of glitter is on Amazon and they have HEAPS.
In the cheap shops, the glitter seems a little limited in the variation of colors that you can choose from. This means to get something a little more special it may not be the cheapest glitter you can buy.
For loose glitter, you simply need glue. Easy as….
Did you say messy?
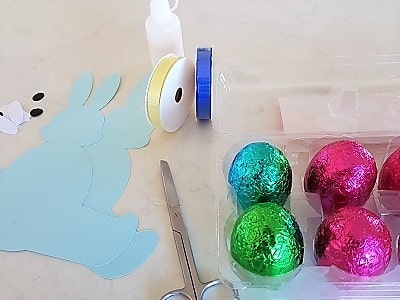
Now glitter IS messy stuff. After using it I always end up with a bit of sparkle on my face, or clothes, or floor… umm pretty much everywhere! LOL. I even managed to get it everywhere with the lid on taking the main photo for the post.. sheesh.
(I know a funny joke about a flannel with glitter on it but it is a bit rude, we won’t go there LOL) Give me a wink if you know it 😉
TIP: Put your card or project on a piece of paper that is bigger than the project you are applying the glitter onto. Fold the paper in half first with a fairly good crease, then flatten out again. The paper will catch the overspill of glitter.
When you are finished glittering, tap the overspill of glitter towards the fold/crease. Use the fold line as a channel or funnel to make it easier to get the excess glitter back into the container it came out of.
Glue
I mainly use crafting glue for my projects and this seems to work fine. To produce fine lines of glitter, you need to apply the glue in a thin line.
You can purchase small glue bottles with a really fine metal tip to achieve this. I bought some cheap ones and transferred small amounts of glue into them. I use them whenever I need a finer glue line, not just for glitter work.
TIP: Make sure you clear the glue from the metal tip after each use. You can use a pin or something similar to do this.
The use of a toothpick or skewer to “draw” the glue where you need it is another method. I have used a toothpick lots of times to get glue into hard to get areas or to produce a finer film of glue.
Another method is spraying your card with spray-on glue and then shimmering glitter over the area. While this is a really easy method it is not easy to control spray so it would only be ok for a slightly larger area.
Whatever glue you use from this section, it involves sprinkling glitter over the areas that you have placed the glue then shaking off the excess.
Glitter glue
You can purchase glitter already suspended in glue. This is normally in bottles where you can either squeeze it out or spray it on.
I have also watched some tutorials on Youtube on how to make your own spray glue using Isopropyl Alcohol.
To check them out, simply search ‘make your own spray glitter glue”. There are heaps on there to help you.
Spray glitter is my favorite! I LOVE the spray type as it provides just a hint of glitter on your project and you can spray it as light or heavy as you choose.
litter glue that comes pre-made in bottles I haven’t used a lot of. However, I am always intrigued by the bottles of them in the shops and look at them over and over. They look so pretty too. Guessing that this will make it on my ‘must-have’ list soon LOL.
NOTE: You do need to read the label, as not all glitter glue dries as glittery as you may think. …does that make sense ??? Have a bit of practice on a piece of scrap before you use them on your special projects.
Embossing
Both glitter and embossing is a really big topic. Embossing especially as there are so many ways to achieve an embossed effect.
I have tried a number of ways to emboss now and my latest purchase, the We R Memory Keeper Foil Quill, is my very very favorite and I was super excited when I finally purchased it. I have been having an absolute ball with it and it has been so easy to use!

Embossing powders
Most of my embossing powders are more shimmery than glittery however I have seen glittery ones around. I think they are often called ‘tinsel’.
A medium of some kind is required to make the embossing powder stick to your project in the design that you want. This can be purchased in a number of forms.
I have it in an inkpad style where you can use your stamps to pick up the medium. You then stamp your image to your cardstock and sprinkle your embossing powder while the medium is still wet. Once you have the embossing powder covering your design, apply heat to bond the powder on.
You can purchase them in a pen-style as well for a more freehand style effect.
Heat required
Embossing powder needs heat. Any heat that doesn’t wreck the card it is on will work to bond the powder to your project. You can buy special heat guns which is the easiest way to heat the embossing powder. You can also apply heat to your project by holding it up over your toaster. (make sure you don’t hold it too close that it burns you OR scorch your paper)
Really, you can use anything that you can think of to create heat to “melt” the embossing powder to your project.
I love how embossing powders change in front of your eyes from a dull powder to a beautiful shimmer. Such a transformation.
Embossing foil
Embossing can also be done with embossing foil which is called Heat Activated Foil and creates a stunning effect.
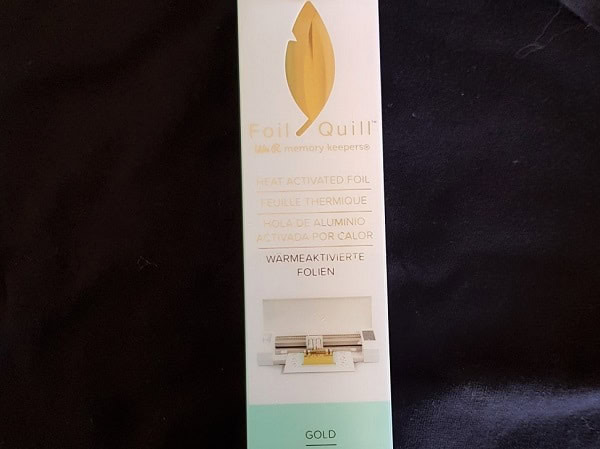
Before I purchased my Foil Quill, I was printing the design onto my card using my laser printer.
Once you have the design that you want on your card, place the embossing foil paper over the top of your design. Then, carefully sandwich the card and foil between some baking paper (in some countries it is called parchment paper). Once you have it in place, send it through your laminator just like you would laminate something. Don’t use laminate.
The baking paper protects your laminator from the foil and protects your project from the laminator.
NOTE: This technique doesn’t work with inkjet printers.
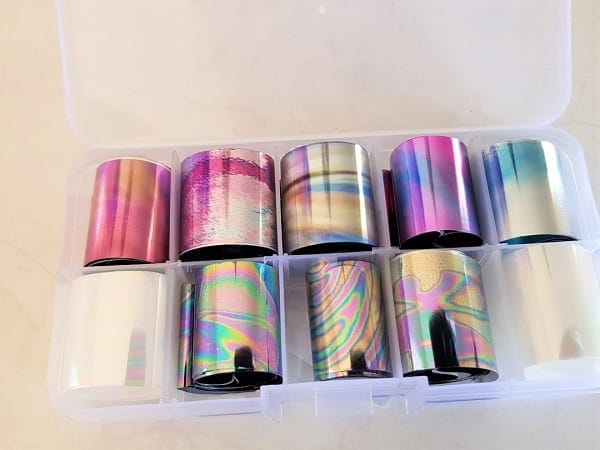
Nail Art foil
I have even tried using nail art heat activated foil. (it was very cheap) While this was moderately successful, in hindsight I wouldn’t choose it again.
One, it doesn’t bond as well as the correct foil.
Two, I purchased a swirly patterned foil that looked super cool but didn’t show up very well on writing. It probably would have been better for a design with bigger sections to foil.
Three, I used an iron to heat the foil and while it was relatively successful, I have been more successful with the laminator.
Other types of embossing
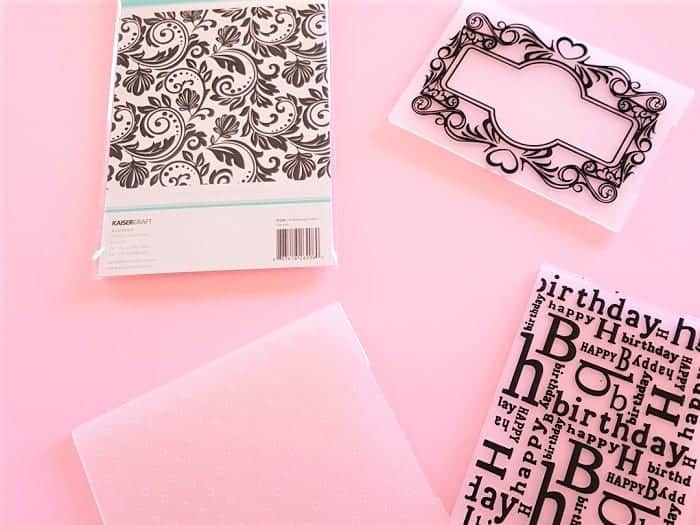
There are other types of embossing. I have a Sizzix Big Shot (this is not the only brand) that I mainly use to emboss paper. This technique uses what is called an embossing folder that you place your card in. It is then sandwiched between plastic plates and rolled through the Big Shot so that the pattern is imprinted onto the paper.
I love this technique however occasionally you can have trouble with the paper cracking where it has been embossed. A tip is to spray a fine mist of water over the card prior to sending it through the Big Shot.
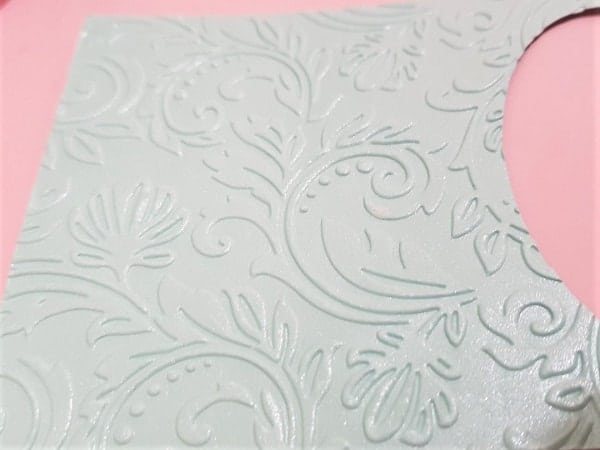
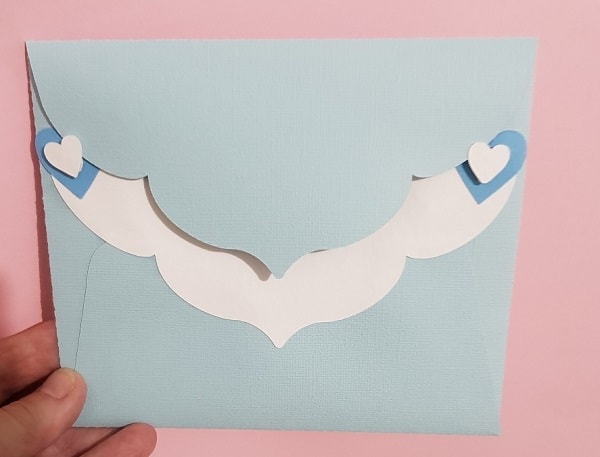
The above embossing was done with the Big Shot. Make sure that you do any cutting of your cardstock BEFORE you emboss. It is not friendly afterward. I have found that the cardstock only copes with minor work using an Exacto-style knife.
The Big Shot will also accept ‘dies’ and cut out the shape of the die. Check out this post if you are interested in finding out more.
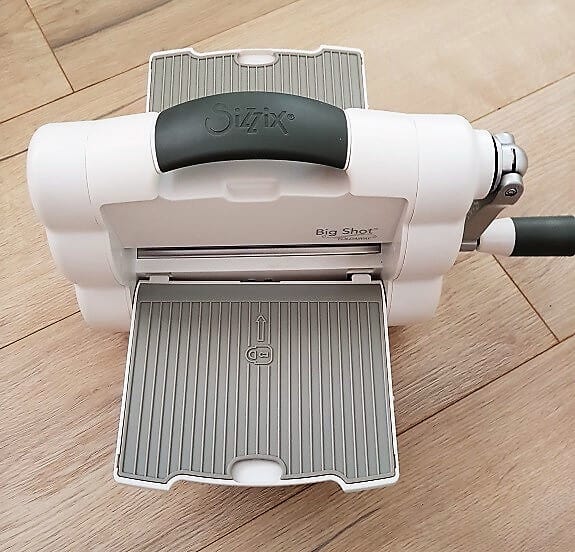
This is my Sizzix Big Shot Foldaway. I love that it folds up quite compact, so if you are looking to purchase one, this is a GREAT feature to save space and it is really easy to fold up and pack away.
I hope that you have found the information interesting and helpful. Check out my other posts on the site while you are here.
Happy creating,

Join me
If you haven’t already, pop in and say hi in our Facebook group Scan N Cut ~ Let’s Create With Sue
Before you go…..DON’T forget to subscribe! I would love you to follow my journey helping you create along the way.
Until the next time!


Hi Sue, first timer on your blog, I like it! One question about embossing powder. I like using and have had some good results. But, sometimes not so good. I just finished a card on which I embossed over alcohol ink. One question? How do you prevent the fine embossing powder from sticking to the areas close to the embossed stamp? I always pre-dust the cardstock before stamping but still get fine bits of powder around the stamp. Is there a way to get a cleaner look? Thank you, appreciate any suggestions.
Hi, I am really pleased that you like my blog. Thank you! The only suggestion I have is to get a fine paintbrush, you know…the type you might do a watercolor design or similar. Dust carefully around the edges to brush away unwanted embossing powder. A little fiddly however may help.