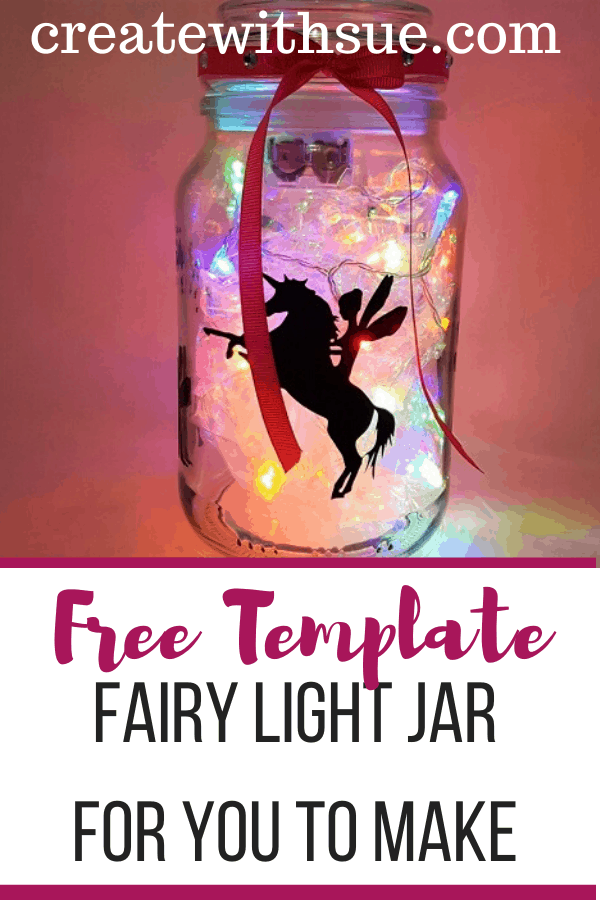
Would you like to make your very own fairy light jar? It is very easy AND very inexpensive. They also make fabulous gifts!
This one has really cute fairies and a unicorn on it and as a bonus, I have included it in my Resource Library for you for free.
This post contains some affiliate links for your convenience (which means if you make a purchase after clicking a link I may earn a small commission but it won’t cost you a penny more)! Read my full disclosure policy.
What do you need..
- Jar with a lid – can be either glass or plastic
- Vinyl – color of your choice
- Transfer sheet to apply the vinyl
- LED lights
- Cellophane or similar
- Ribbon and bling as desired
- Scan N Cut, Cricut or another cutting machine
- Free template from the Resource Library or you can design your own
Step by step instructions
Step 1 – Get the file
Download the free template from the Resource Library and unzip it. If you need some guidance with this check here. Make any sizing adjustments to the design that you need to make sure it fits your jar.
Step 2 – Cutting the file
Send your fairy light jar design to your cutting machine. If you are using a Scan N Cut make sure you select half-cut or adjust your blade so that it only does a kiss cut.
Step 3 – Weeding
Weed your fairies and unicorn. If you need some guidance with weeding there is a tutorial to assist you.

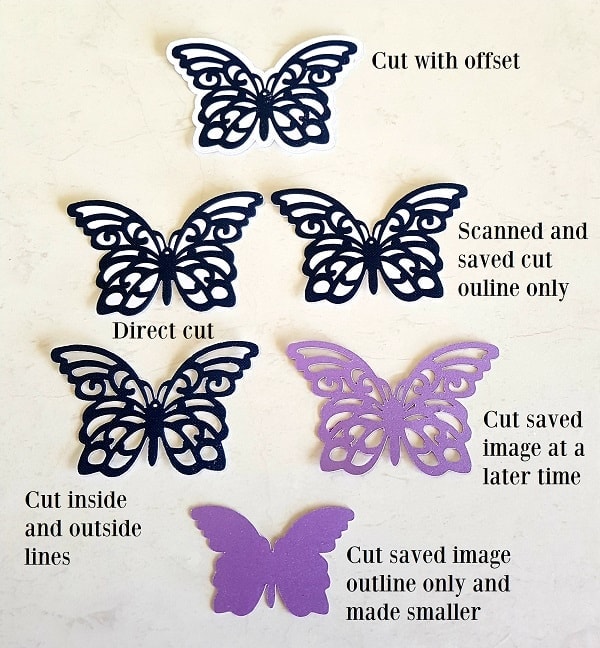
You can see in the picture above that I have cut around each fairy and unicorn to separate them from one another. This makes it easier to weed (although these were very easy anyway)
Step 4 – What type of jar
Now we need a jar. I used an old Moccona coffee jar that I had been saving forever trying to work out what useful re-purposing it was meant for.
And this was it!
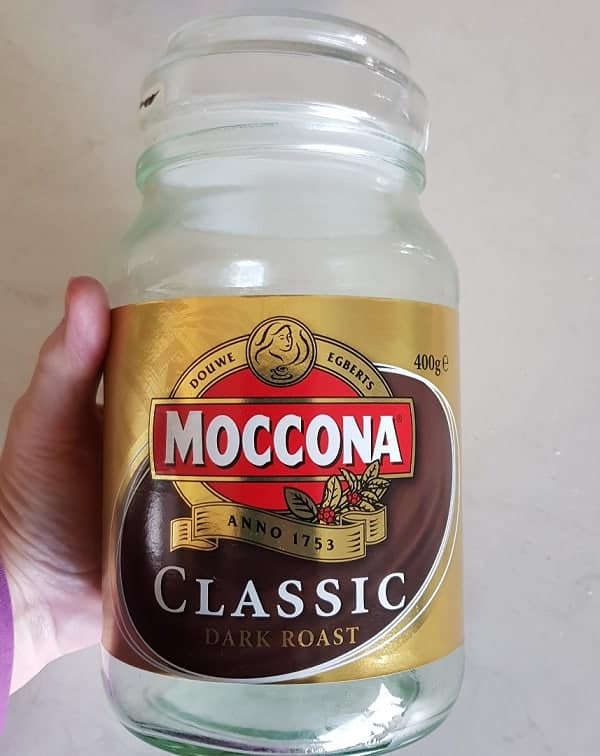
After removing the coffee label and a quick clean with Methylated Spirits (or Isophryl Alcohol) the jar was perfect for my fairies.
Step 5 – Transfer project
The transfer sheet is now required to move the fairies from the backing paper to the jar. Now, the really cool thing about this project is that I used ONE square of transfer sheet for the entire fairy light jar. Yep..ONE.
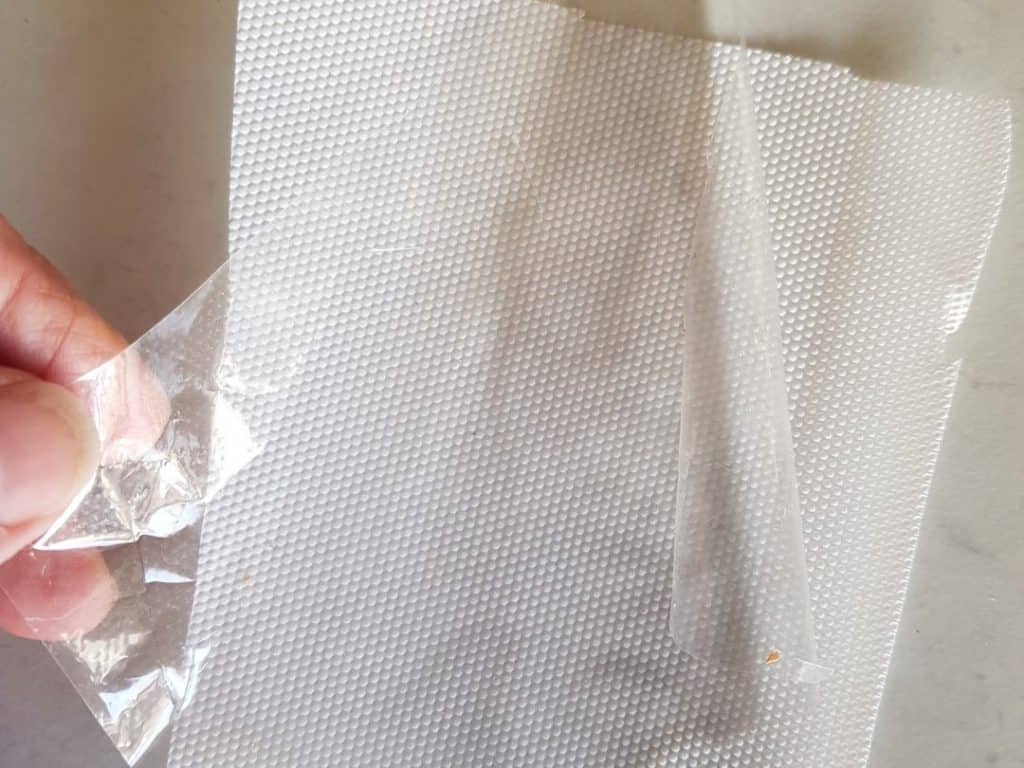
I also use very cheap transfer sheeting. This one came on a really huge roll from eBay (Aussie) and has lasted well and is doing a great job of transferring vinyl.
You can also use cheap contact from dollar stores. I have Cricut transfer sheet as well however I find it holds onto the vinyl strongly making it harder to transfer the design onto your project. Cricut is great if you have glitter vinyl as glitter often doesn’t stick to the transfer sheet very well.
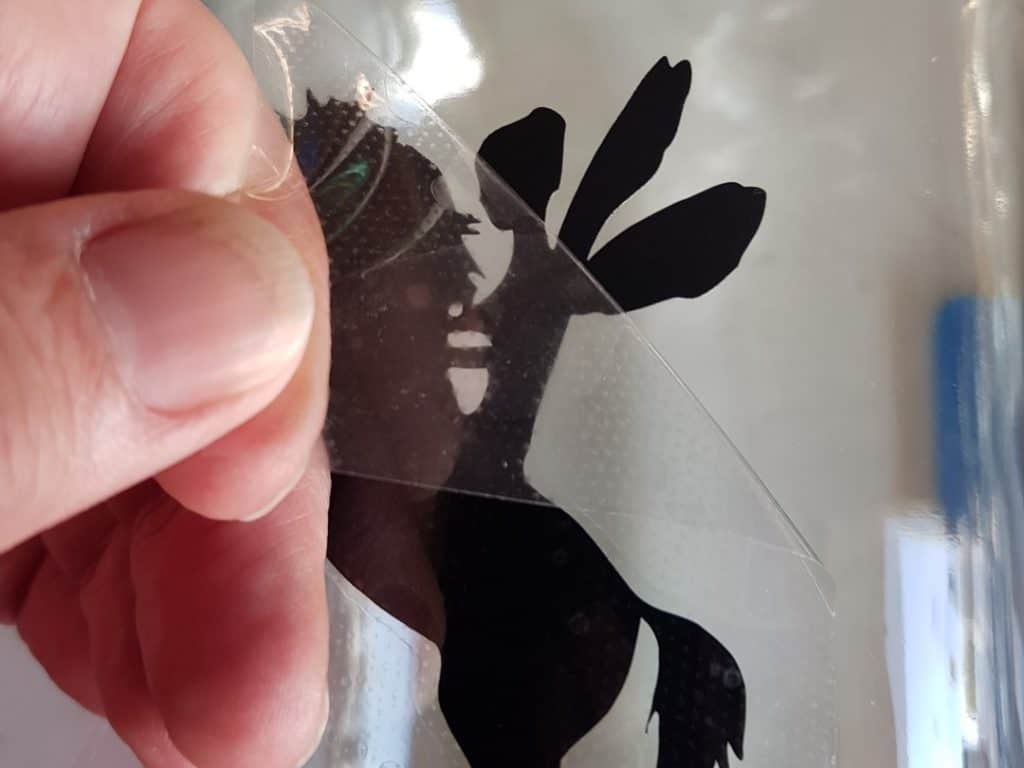
Place your fairies and unicorn evenly around your fairy light jar.
Step 6 – Press your vinyl
Ensure that you press the vinyl on firmly to the jar. I found this really cheap squeegee tool that has made life so much easier to press vinyl.
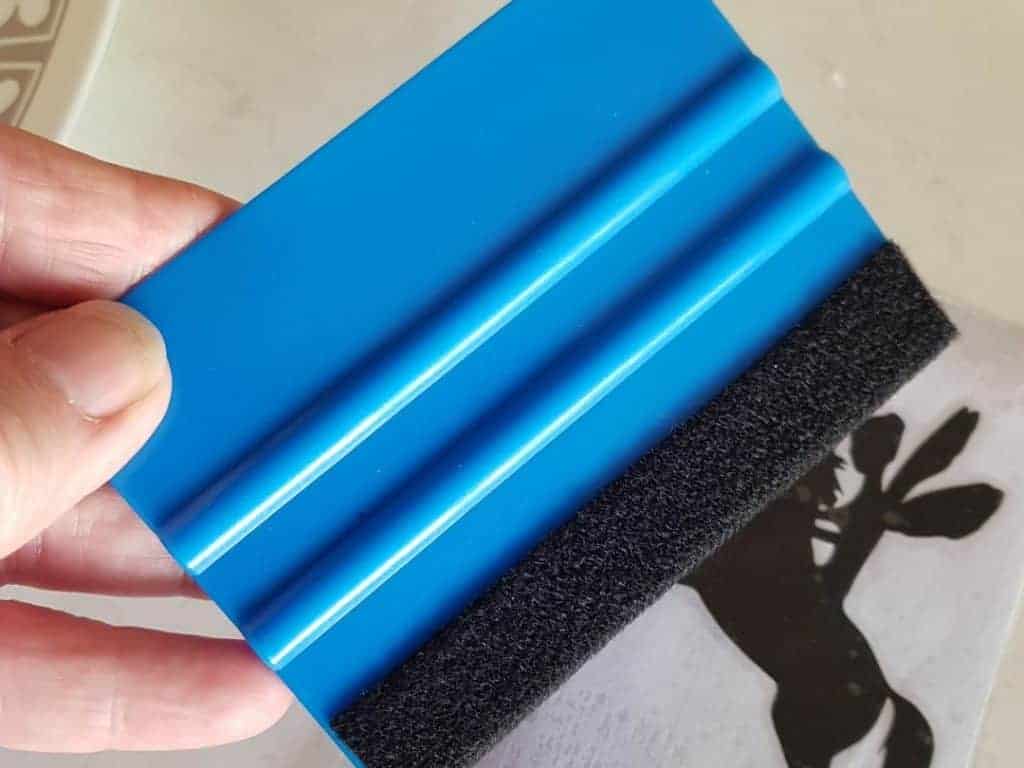
I am love, love, loving this tool.
My fairy light jar is round (yours is probably too) and I had an added bonus that the tool worked as a wedge to stop the jar from rolling while applied the vinyl. Then I used it to rub the transfer sheet with the non-felt side. After the transfer sheet was removed I used the felt side to press the vinyl down firmly.
It worked a treat as other tools that I have used have been a little harsh for the final rub.
Step 7 – What to fill it with
Time for the cellophane. In my stash, I could only find pink cellophane so I cut a section of that off and scrunched it up into the jar. It looked ok however I wasn’t super impressed.
Next, I placed the LED lights in the jar…
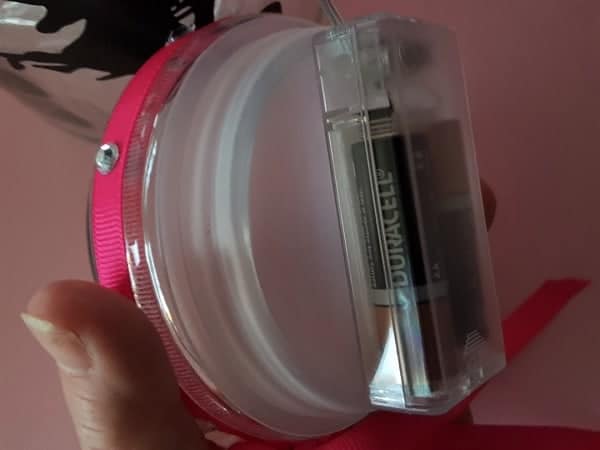
Be a little careful which LED lights you purchase. I ended up buying some from the cheap shop however I wished I had spent a little more money and bought the ones that have wires. The wired ones would have been so much easier to place in the jar strategically.
NOTE: Make sure that the LED lights meet your country’s electrical standards.
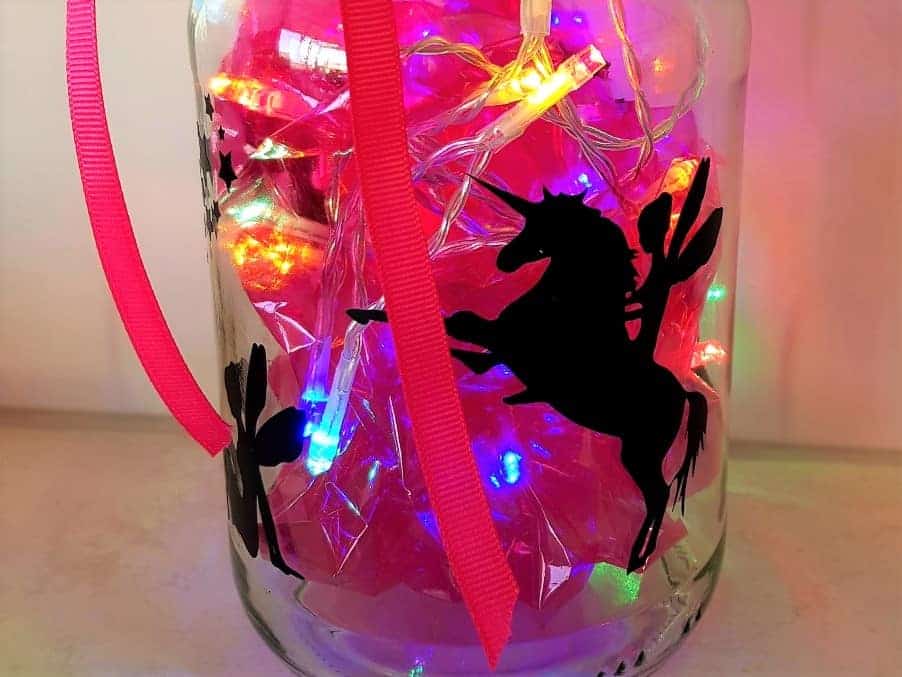
This is how it looked with the pink cellophane.
I ended up going out and getting clear cellophane and liked that effect much better.
Step 8 – Embellish!
I added a bow and some bling and I am planning to do a little more to the top of the jar to personalize it. Maybe an M for Matilda.
I would love to see how you choose to embellish your fairy light jar.

Last but not least
When I was happy with how the fairy light jar looked I glued the control box to the underneath side of the jar’s lid. This seemed to be the most user-friendly place to put the control box.
Things I would change…
There are a couple of things I would do differently with this project. First up, careful where you glue the controller. I placed mine near the bow… not the best placement. Think about your embellishments before you glue it.
Next up is the LED lights … as I mentioned previously I would choose the firm wired style as they would make placement in the jar much easier. I ended up wrapping the lights around the cellophane to hold them in place for this project.

I hope that you have enjoyed this tutorial. Please join me again for future tutorials.
Happy creating,


Join me on Facebook
Join me in the Scan N Cut – Let’s Create With Sue Facebook group.
I would love to see you there.
Other tutorials you may like
- Baby Card ~ Romper
- How to choose a Scan N Cut to buy
- How To Manage SVG Files
- Glitter and Embossing Techniques
- How To Use The Foil Quill
Scan N Cut Basics Course
Would you like to learn how to use your Scan N Cut to gain the most from it?
A free course is available for you – check out what is on offer!


Love the Light up jars! The vinyl makes it Pop 😉🤗
Great to hear, thank you! The one in the tutorial went to my granddaughter and she loves it. Thank you for the feedback. Sue