
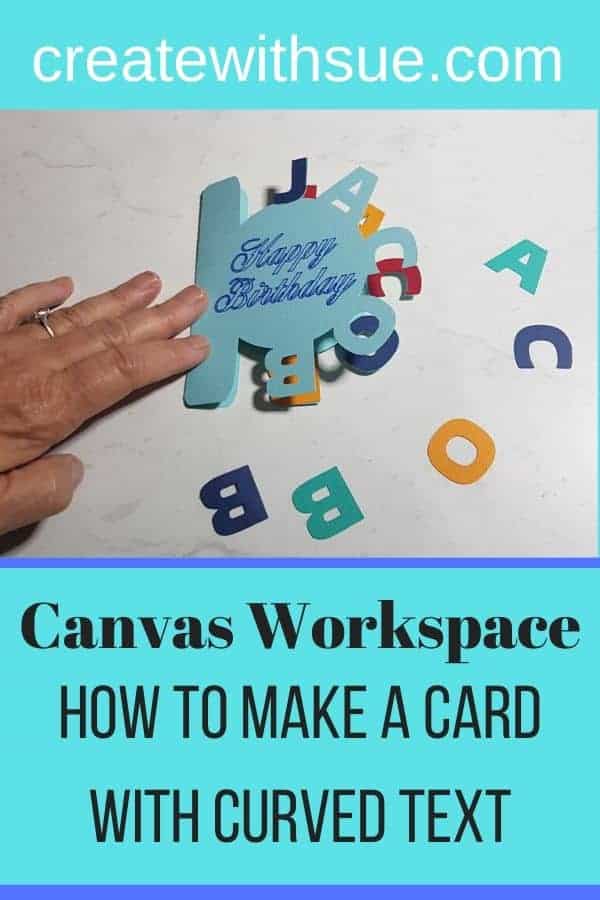
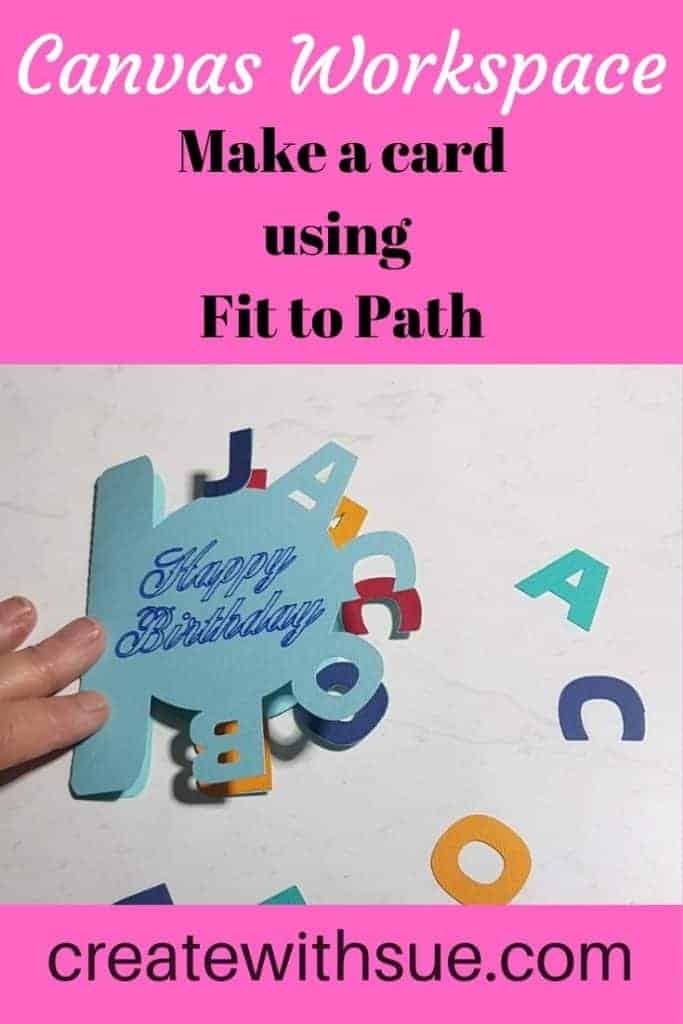
This tutorial is showing how to create a card using curved text in Canvas Workspace. This is the new “Fit to Path” feature recently released by Brother and it is super fun and a fantastic update to the downloaded version of Canvas Workspace!
This post may contain some affiliate links for your convenience (which means if you make a purchase after clicking a link I may earn a small commission but it won’t cost you a penny more)! Read my very boring full disclosure policy here.
What do you need
- Cardstock sturdy enough for a card
- Different colored leftover card for the lettering
- Something to cut the card out with. I used a Scan N Cut.
- Canvas Workspace downloaded version 2.3.1 software
- Glue to put the card together with
- Other embellishments to suit
Decide what curved text card you want to make
The very first step is to decide what curved text card it is that you want to make. I needed a card for a 6-year-old with his name on so, of course, I created a Jacob card.
Before you start, think about the length of the name you are working with. The longer the name, the smaller in length you can make your writing and the shorter the name then you may need to stretch the text further so that there is enough text to curve around your shape.
It will be a bit of trial and error however if you have a basic concept you will be fine.
What to place on the inside of the curved text
This is kinda the fun bit because really, what can go inside the curved text is endless.
Things that I thought of are:
- Birthday number – I would have used a 6
- Whether you cut the number into the card or used vinyl or cardstock to cut out the number
- Happy Birthday with any font of your choice
- A design that could be drawn with your Scan N Cut
- Maybe a foiled design?
- Even a cut-out design
I probably could keep going as there are so many choices – too many fun choices LOL
Using vinyl on your card
Vinyl is an excellent option to add to your cards with great results. The main thing to remember when using vinyl on cardstock is not to have the transfer sheet too sticky and perhaps do a little test with the transfer sheet first. There would be nothing worse than to have the transfer sheet too stick and remove some of the card’s top layer and ruining your project.
The text feature in Canvas Workspace
The text or writing feature in Canvas is great and provides you many options on different font types and sizes. There is the option to use the pre-made text that is already done for you in Canvas Workspace (I show you where to find that in the video tutorial) or write your own.
Writing your own text is also covered in the video.
Notice the text that I used in this tutorial has a blank center and if this is not the text type that you want you can use a single line font and your Scan N Cut will write as you would write with a pen. The online Canvas Workspace also has a “fill in” feature for text.
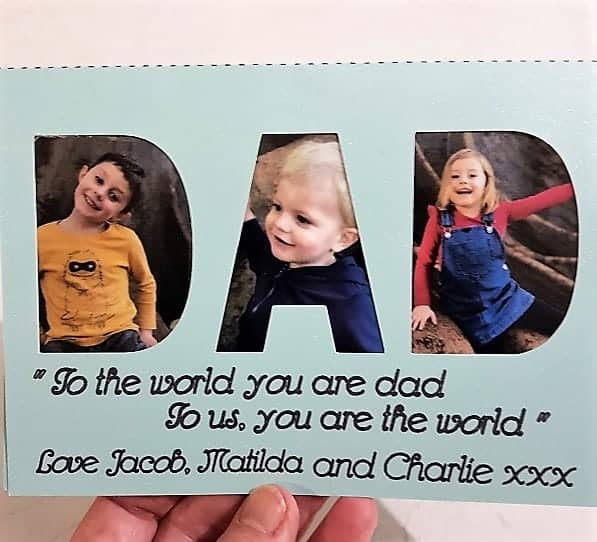
Cutting numbers or shapes inside the curved text
Cutting out the number or shape inside the curved text is a great option. You get a name and the age all on the front of the card. I wished I had thought of it before I did the Happy Birthday, I will have to save that thought for my next age card.
Now that I have started to think about what could go into the center I am on a roll..LOL I hope your ideas are flowing too. I would love to see them.
Video tutorial on how to create a card using curved text
Check out the video on how to create the curved text card in Canvas Workspace as it is very easy. If you haven’t upgraded your downloaded version of Canvas Workspace and need a hand I have put together a tutorial to help you here.
You need the downloaded version 2.3.1 of Canvas Workspace to be able to curve text shown in the video.
NOTE: A curved text card can be made in the online version of Canvas in a little more manual way and I have a tutorial in another post that will show you how to do it.
Finishing your curved text card
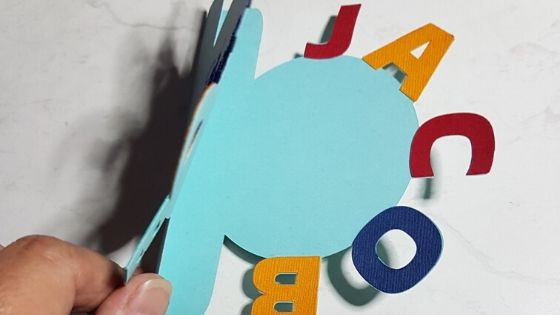
Once you have cut your card pieces out following the video instruction then you can put it together.
This is my nearly completed card and you can see that I have used different colors for the letter to sit over the top of the card lettering to accentuate them. I cut out a set in each color that I liked so that I could mix and match once I was ready to glue them on.
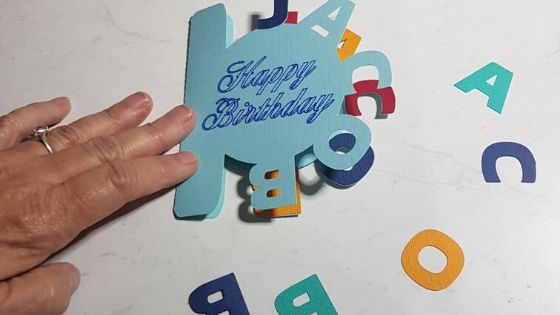
It is an option to place a layer of colored letters on the inside of the card as well. I rather liked adding the extra color to the card.
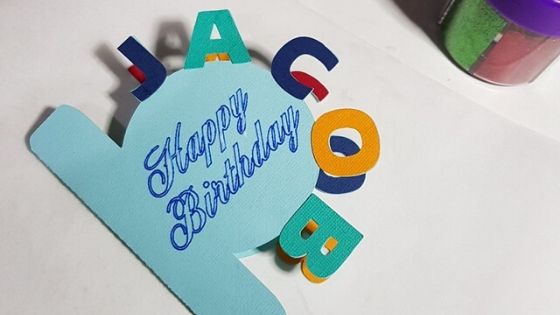
Here is the completed card. As I talk about in the video, you can have the wording closer to the edge of the card or you can select a different edge for the card. It really is your preference and how you would like your card to turn out.
Embellishing your card
There are so many ways to embellish your card. The card below was with glitter however I don’t feel it turned out quite how expected. ( we are always so critical of our own creations aren’t we!)
The good news was that Jacob LOVED it! He didn’t see any issues with the glitter. Maybe the next card that I make I might cut out the birthday number and place a different colored circle behind it so another color shines through. Hmm…shiny colored card maybe.

I hope that you enjoyed this tutorial and I look forward to making the next one for you. If you have any suggestions on what you would like to see how to make I am all ears. Have fun making this one.
Happy creating,


P.S. Don’t forget to pop into our Facebook group and say hi. I love hearing from you! The group is full of awesome crafty friends like you and is where you can share your creations and any issues you might have.
LIKE IT !!! PIN IT !!!!!


Hi first time looking at your site. Thanks for posting such nice instructions still a little lost.?
Glad you are finding the tutorials helpful. I am always adding more and if you are after more help please join my facebook group and I am happy to help you as much as I can.
Hi Sue, I have been home poorly, so plenty of reading & watching your free course.
So far I’ve learnt that I have the online version of canvasworkspace
I think I have the courage to actually go into CWS & try something.
I’m struggling to understand the
Abbreviations Svg etc all mean. My plan is to write them in my notebook if & when I come across them, then look them up straight away
Thank you so much, it has been a very interesting few hours
Hi Tracy, I hope you feel better soon. I am pleased that working your way through course and finding it helpful!. Definitely have a play with Canvas Workspace, it makes such a difference to the projects that you can do. SVG stands for Scalable Vector Graphic. This means that it can be resized indefinitely as opposed to other formats like PNG and JPG which have distinct limitations due to pixalation. Writing what they mean and steps how to do things in a notebook is an excellent way to store information for quick review.