
This tutorial will show you how to make a baby romper card from scratch in Canvas Workspace just using shapes!
While you may not need to make a romper card, the tutorial will demonstrate how to make much more…..
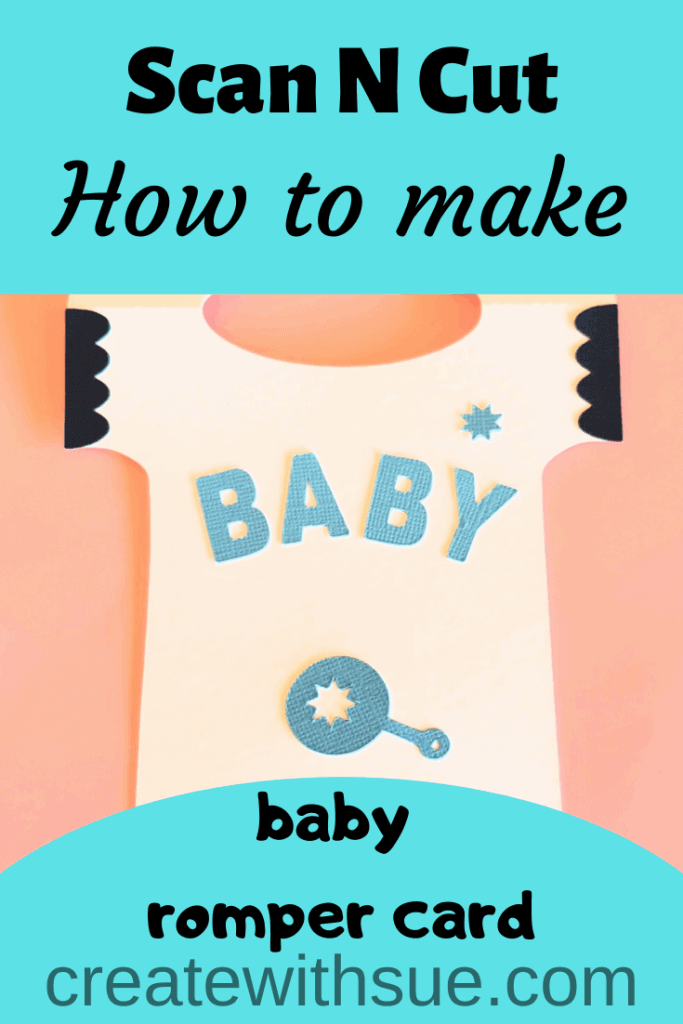
My daughter inspired me to make this romper baby card. Yep, you guessed it, a NEW baby which is very exciting indeed. Following a new baby, you then need a baby card. I had some indecision over what baby card I wanted to make as, of course, I wanted it special. I have chosen a baby card in the form of a romper cause they are so cute and provide plenty of opportunities to embellish how you would like.
Grab the free design to make
The good news about this baby card is that it is sooo easy to make. I have included a FREE romper baby card template which you can grab from the Resource Library. Simply download it, cut it out the colors to suit and embellish as required. Boy or girl, this card will suit. I am doing mine for a baby boy 😉
This post contains some affiliate links for your convenience (which means if you make a purchase after clicking a link I may earn a small commission but it won’t cost you a penny more)! Read my full disclosure policy.
What do you need?
- 1 sheet good card stock in the colors of your choice. I used a quite thick one.
- Different colored card for embellishing your romper baby card.
- FREE baby card romper template OR make one of your own (see Scan N Cut tutorial)
- Cutting machine, Brother Scan N Cut or Cricut. If you don’t have a cutting machine then use an Exacto knife.
Are you new to cutting machines? I have written information to help you work your way through the minefield of models available related to your country.

Where to from here!
Decision time.
If you have a Brother Scan N Cut cutting machine you may like to try to put this card together from scratch. This is a great learning exercise for you. I have put together a tutorial using the online version of Canvas Workspace however the instructions will be very similar if you use the downloaded version of Canvas.
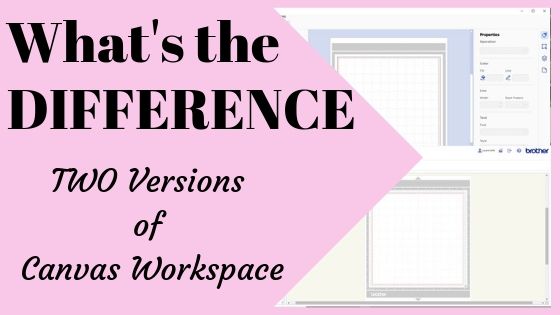
If you are a little uncertain about Canvas Workspace and which version is which I have a post that provides information on both. (By the way, I like and use BOTH versions and find I choose which version I use depending on what I am trying to do. )
Video tutorial
Send the file to your machine
The next step is to send the baby card to your machine to cut out. If you have downloaded it from the Resource Library you will need to unzip the file. Once you have it unzipped select the FCM file if you have a Scan N Cut OR the SVG for other cutting machines.
Scan N Cut users… if you need help with this step check out this tutorial which provides a guide to adding a file to Canvas Workspace. Alternatively, you can pop the file on a USB and take it directly to your machine.
Make sure you remember to add a test cut!
TIP: check designs when adding them to either Canvas Workspace OR Design Space to ensure dotted fold lines have NOT inadvertently changed to solid cut lines. If you have too much trouble with dotted score lines, remove them from the design and create a manual scoreline.
Let’s put it together
A really easy card to put together. I love easy!
Fold the cut-out romper card on the dotted score lines at the shoulder points.
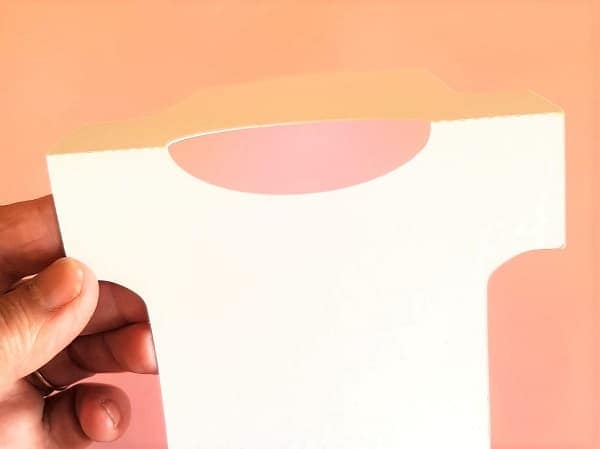
That’s the base of the baby card done! How easy was that!
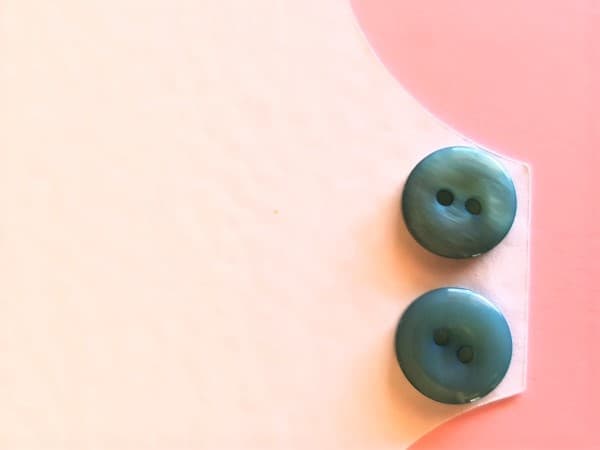
Now the fun bit to embellish the card. I had a bright idea to add real buttons to the card. That will look great!
So, I upended my button collection (years old)

Yep! A bit of a mess when all tipped out everywhere. I scrummaged through them, however, the only blue ones I could locate that were nearly ok were these.
Wrong blue and toooo big! Good idea that didn’t pan out. You may have much better luck. If I was at my mum’s, her button collection is much, much older and larger. I would have found the right ones in there for sure.
Back to embellishments!
You could add buttons, bows, colored contrast card, additional borders etc. If you watched the tutorial I showed another option in there as well.

These pieces are included in the FREE template and I have shown you how to duplicate them in the tutorial.
Simply glue them where you would like. This project used tacky glue.
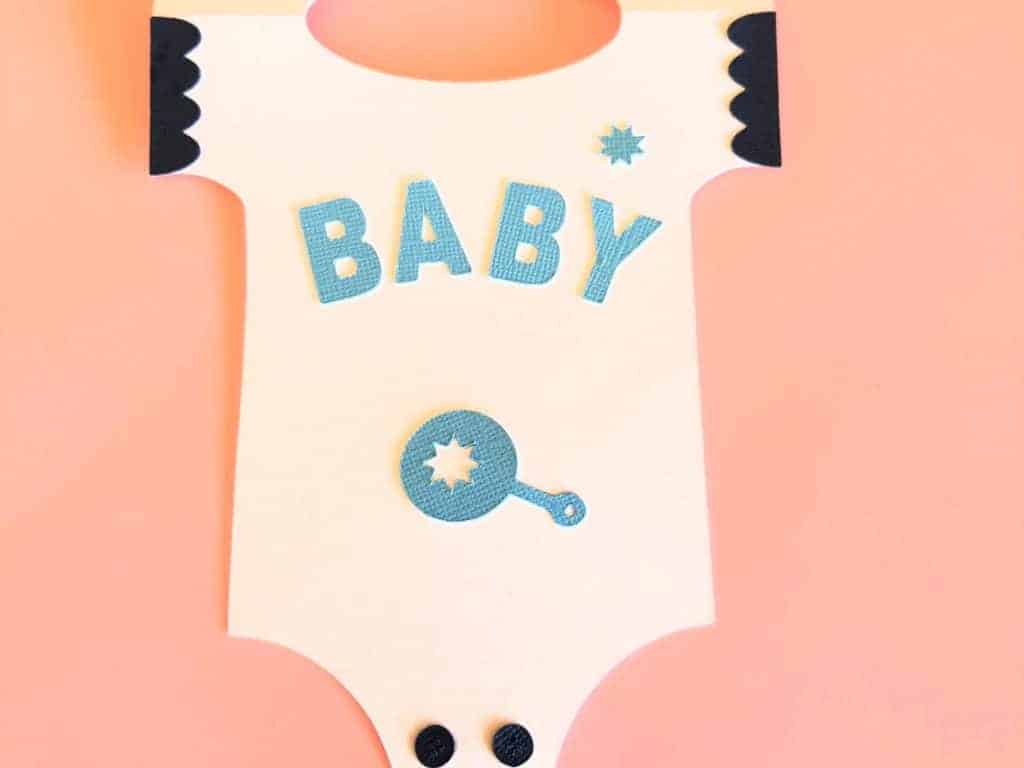
Finished up putting card buttons cut with the Scan N Cut on my card. For the moment I have placed the word “baby” on there for the moment however, I plan to cut out the baby’s name and personalize the baby card further. I always think the more personalized the better.
Have you enjoyed this tutorial? I hope so…. and that you will join me again for the next one.
Happy creating,


Join me on facebook
Join me in the Scan N Cut – Let’s Create With Sue facebook group.
I would love to see you there.
Other tutorials you may like
- Scan N Cut Hacks To Save You Money
- Create Faux Leather Earrings – Scan N Cut
- Brother Scan N Cut SDX1000 – I bought another one!
- How to add Glyphs to Canvas Workspace
- How to Cut Fabric with your Scan N Cut
If you liked the post ….
share it so others can too.
I use Canva to make all sorts of designs including my Pinterest Pins.


Great online tutorial! You make it look so easy. Thanks Sue
Hi Anna, I am pleased that you liked it. Thanks for letting me know 🙂